How to set up the Power BI connector
In this blog we will show you, how to set up the Power Bi connector.
Setup Microsoft Power BI
To use our data connectors, you need to have Microsoft Power BI desktop installed in your computer. To install Microsoft Power BI free, please follow the instructions on the official Microsoft page.

Setup file
From our website here, you will download the setup file for our Visma Connector (and other connectors, but this tutorial is based on Visma only).
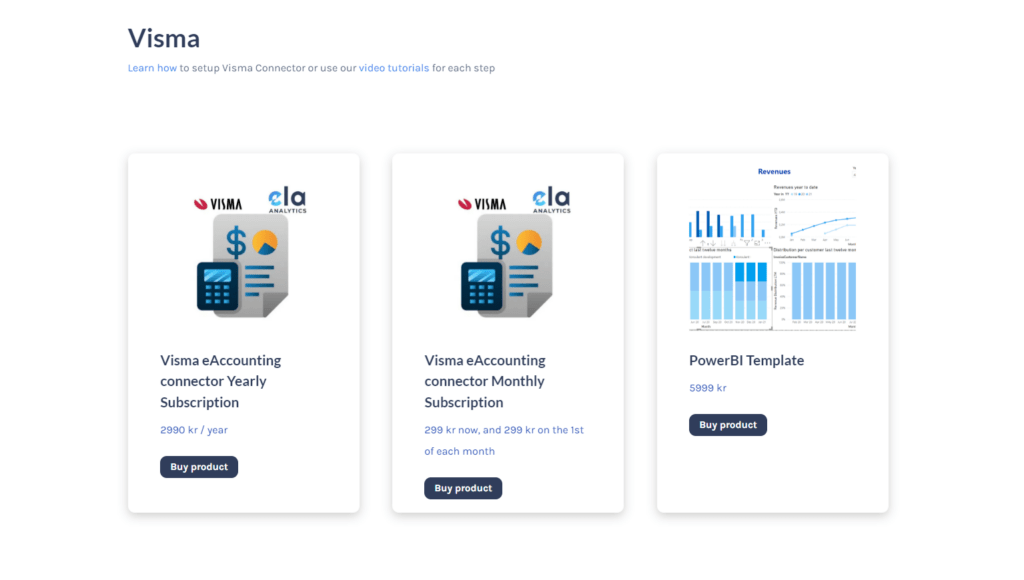
You can find monthly and yearly subscription to the connector and a Power BI template that is 100% compatible with the connectors.
You can find us in the Visma eAccounting partner page here.
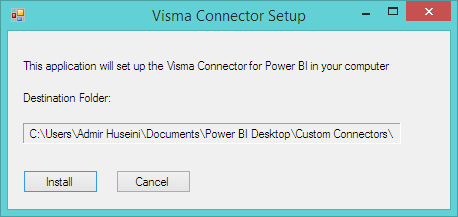
Run the file and then click Install:
After the Visma Connector is successfully installed on your system you should see the following message:

You can check Visma Connector’s location on your device as in the following picture:

The file VismaConnector.mez should be in the folder Documents\Power BI Desktop\Custom Connectors.
Configure Power BI Desktop
When you open the Power BI desktop application, you will see the following screen:

To get to the main screen of the Power BI application you can close the upper window by clicking the X button on the upper right corner of the window. Then, this message will appear:

Click OK and you will see the main screen of the Power BI application as follows:

The next step is to open File->Options and settings->Options:

After that, you will see the following window, where you should click the Security tab on the left side and then check Not recommended option on the right side under the Data Extensions title:

Configure Visma Credentials
The next step is to click on the Get Data icon , on the main window of the application:

The following window will be opened where you should write Visma on the search bar, select it and then click the Connect button which is on the down side of the window:


Next, you open the File tab again ,on the upper-left part of the main screen and click Options and settings, then click Data source settings and a sign in window will appear:


Click the Sign in button and the following window will appear:

Write your credentials in this window and click Logg inn. Then in the following window choose your company and then click Continue:

In the next window, choose the permissions that you want to grant and click the Yes,Allow button:

Then, the following window appears where you should click Connect:

In the next step, the Navigator window appears where you choose your needed tables on the left side, then you click Load located below:


Finally, you will see a Loading window, then your tables will appear on the main screen of the Power BI application:

